After spending a whole eight years of my career without a website, I decided enough is enough and started putting some research in to what kind of website I want to build. There are many options out there and I finally settled on something that will help me work quickly but also at a very low cost.
It struck me fairly fast that I don’t want to spend a huge amount of time on things like site security, fees, maintenance. I wanted the barrier of entry for myself to just create content to be as frictionless as possible.
Choosing technology
To deal with my requirements of not having to deal with security, fees and maintenance my options boils down to hosting a static website on a platform that is free. As I’ve already got a lot of my open source on GitHub and I’m already very familiar with the platform, I figured that will be a good option for me.
But how do I build a simple website like that? I’ve been so deep in to frontend frameworks and server side rendering for so long its easy to forget the web works with just html files if you want it to. It’s not like I was going to go back to 2005 and sit and write my own HTML and CSS with Adobe Dreamweaver like I used to do.
Coming from the world of Ruby, I’ve always known about Jekyll and how closely related it has been with GitHub pages. But whenever I work with Ruby based tooling, I always feel like I’m struggling with the environment rather than getting actual work done.
I was sure there were other options, so I went out to look. Lo and behold, there’s this thing that is proclaimed faster than Jekyll, has tons of community made themes and is [built with Go],(https://github.com/gohugoio/hugo) which is a bonus.
Enter Hugo – “The world’s fastest framework for building websites.”

Setting up Hugo
Setting up hugo other than following their documentation is very straight forward. Since I develop on a mac, I just went to get the command line tool through Homebrew.
Repository structure
Since GitHub does not allow pages for personal profiles to be hosted from a different branch or directory, I decided I need two different repositories, one that keeps my source code and one that keeps my generated output.
- zeeraw.github.io is the static published on GitHub Pages
- zeeraw.github.io.src is the source used to generate the static site
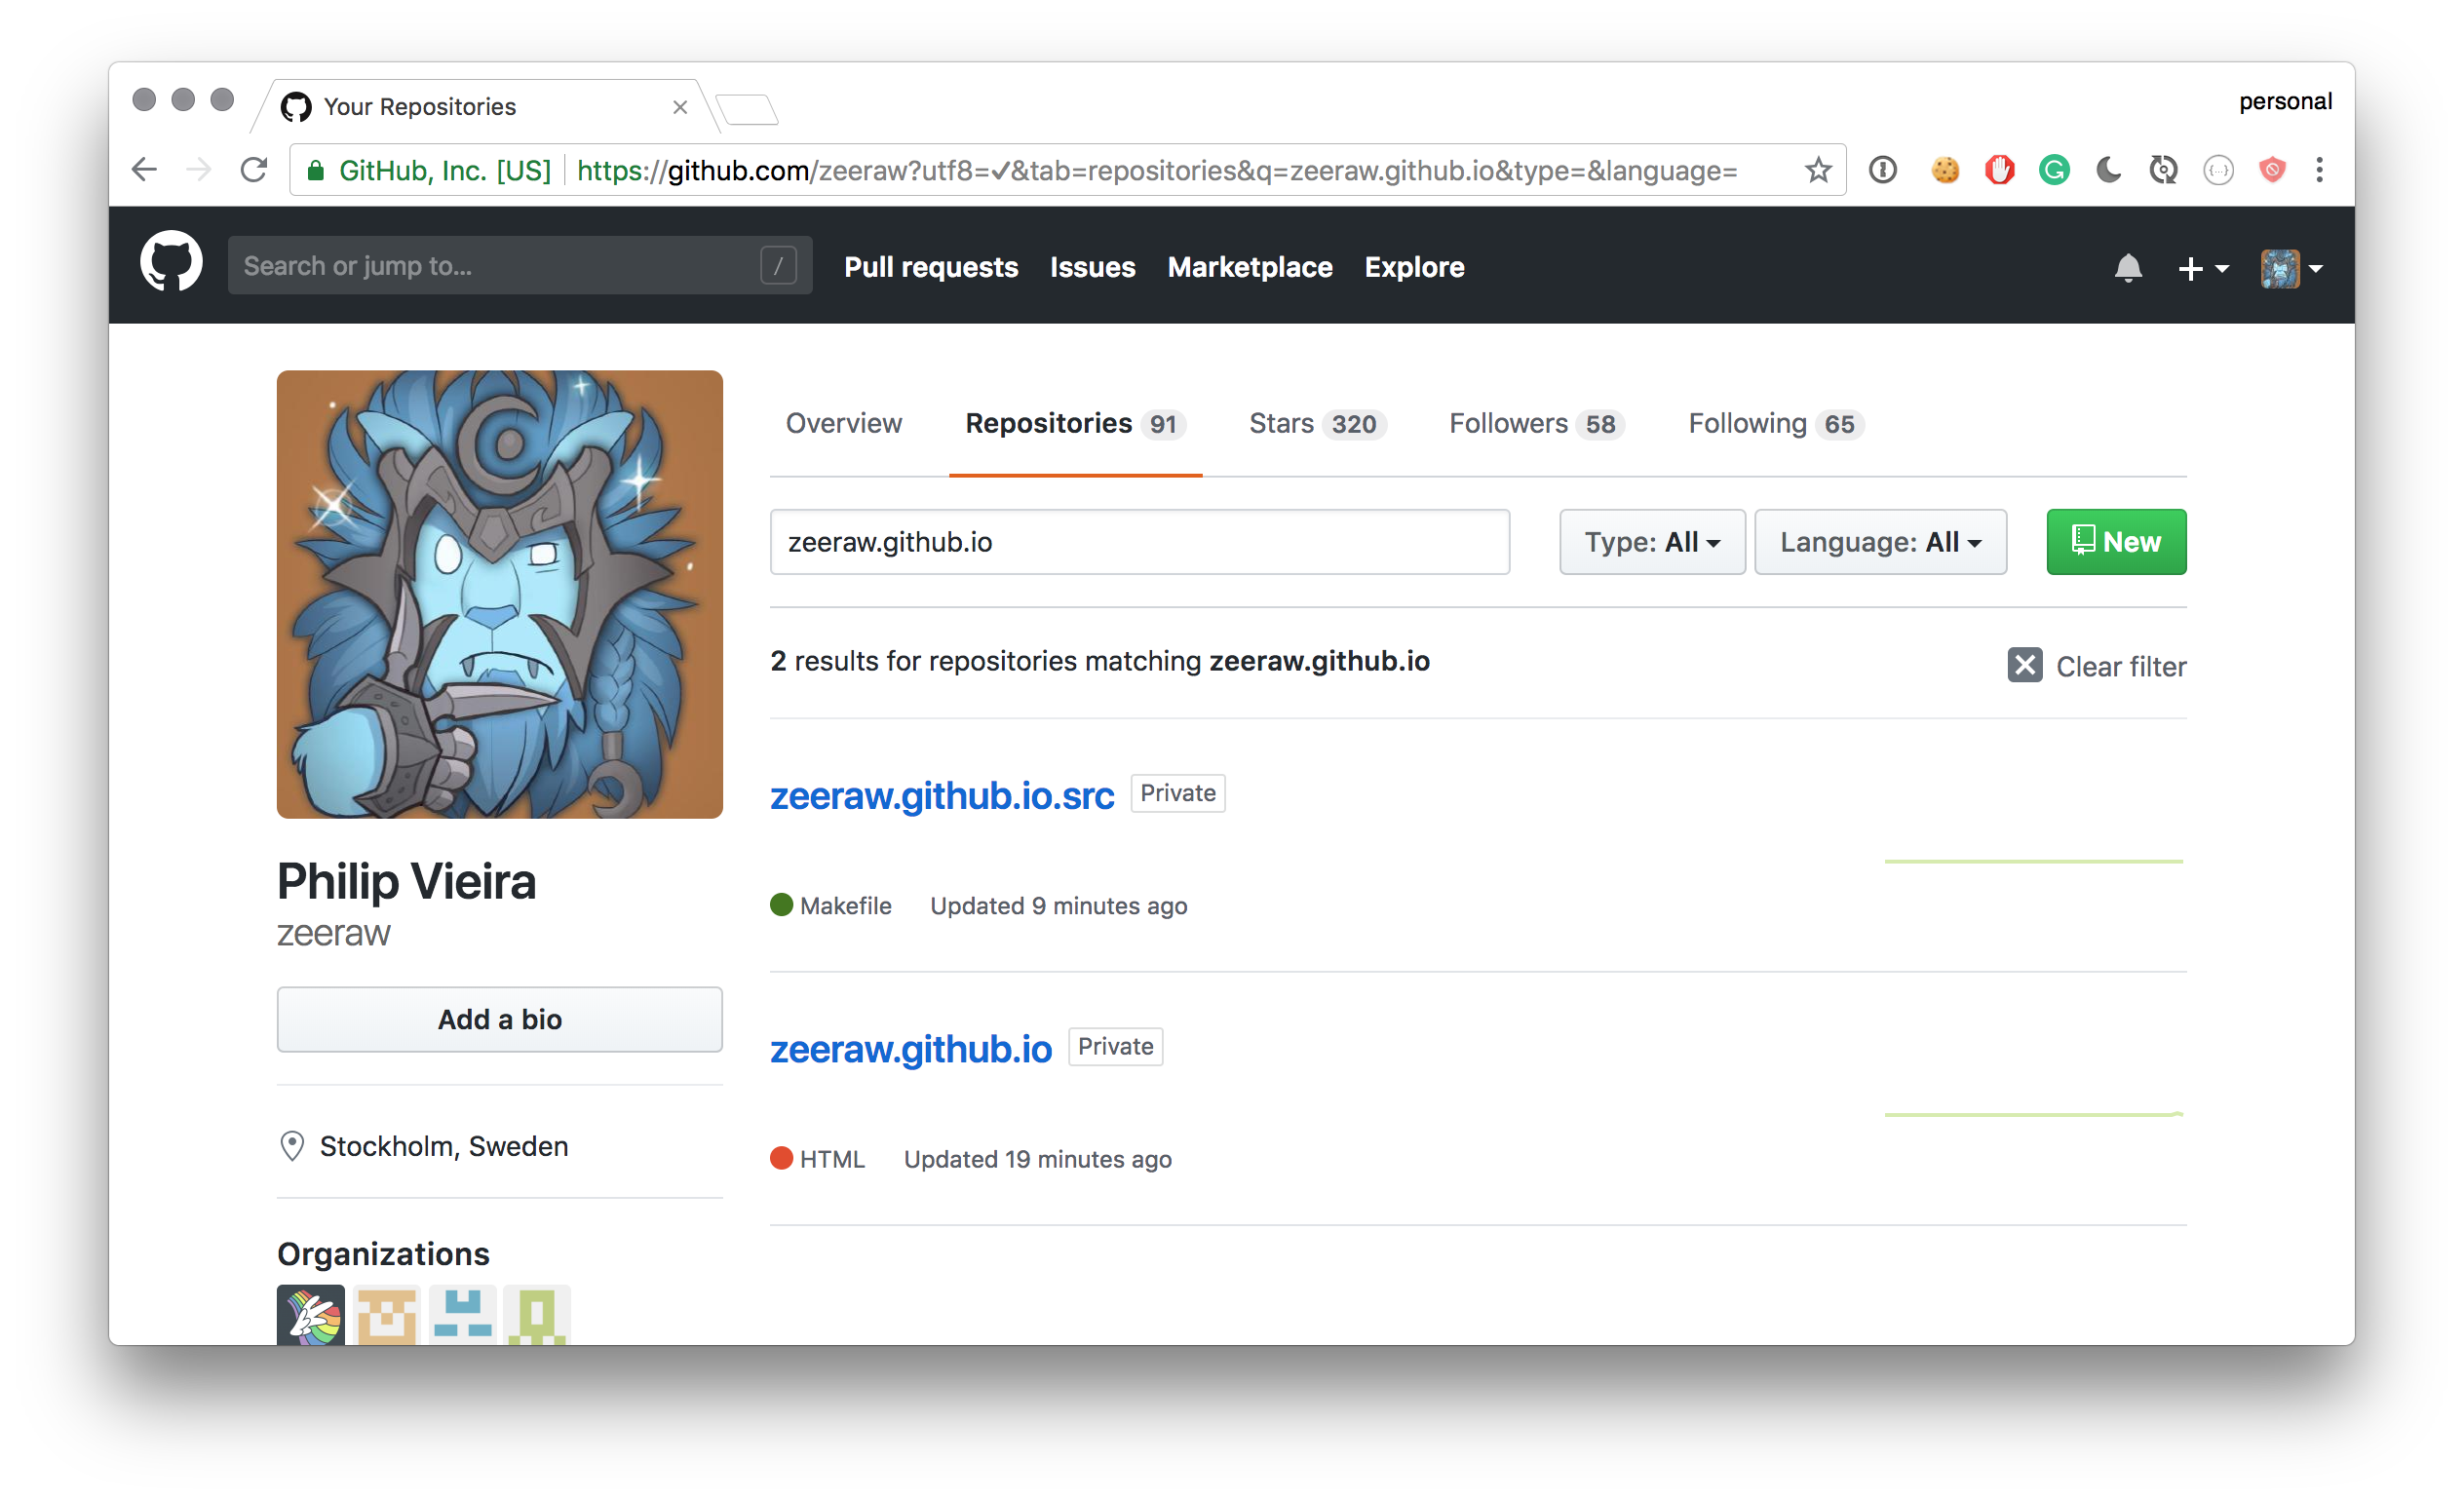
The benefit of doing it this way is that I can version and store my changes on GitHub without having to ever touch the static site until I’m absolutely ready to publish something new.
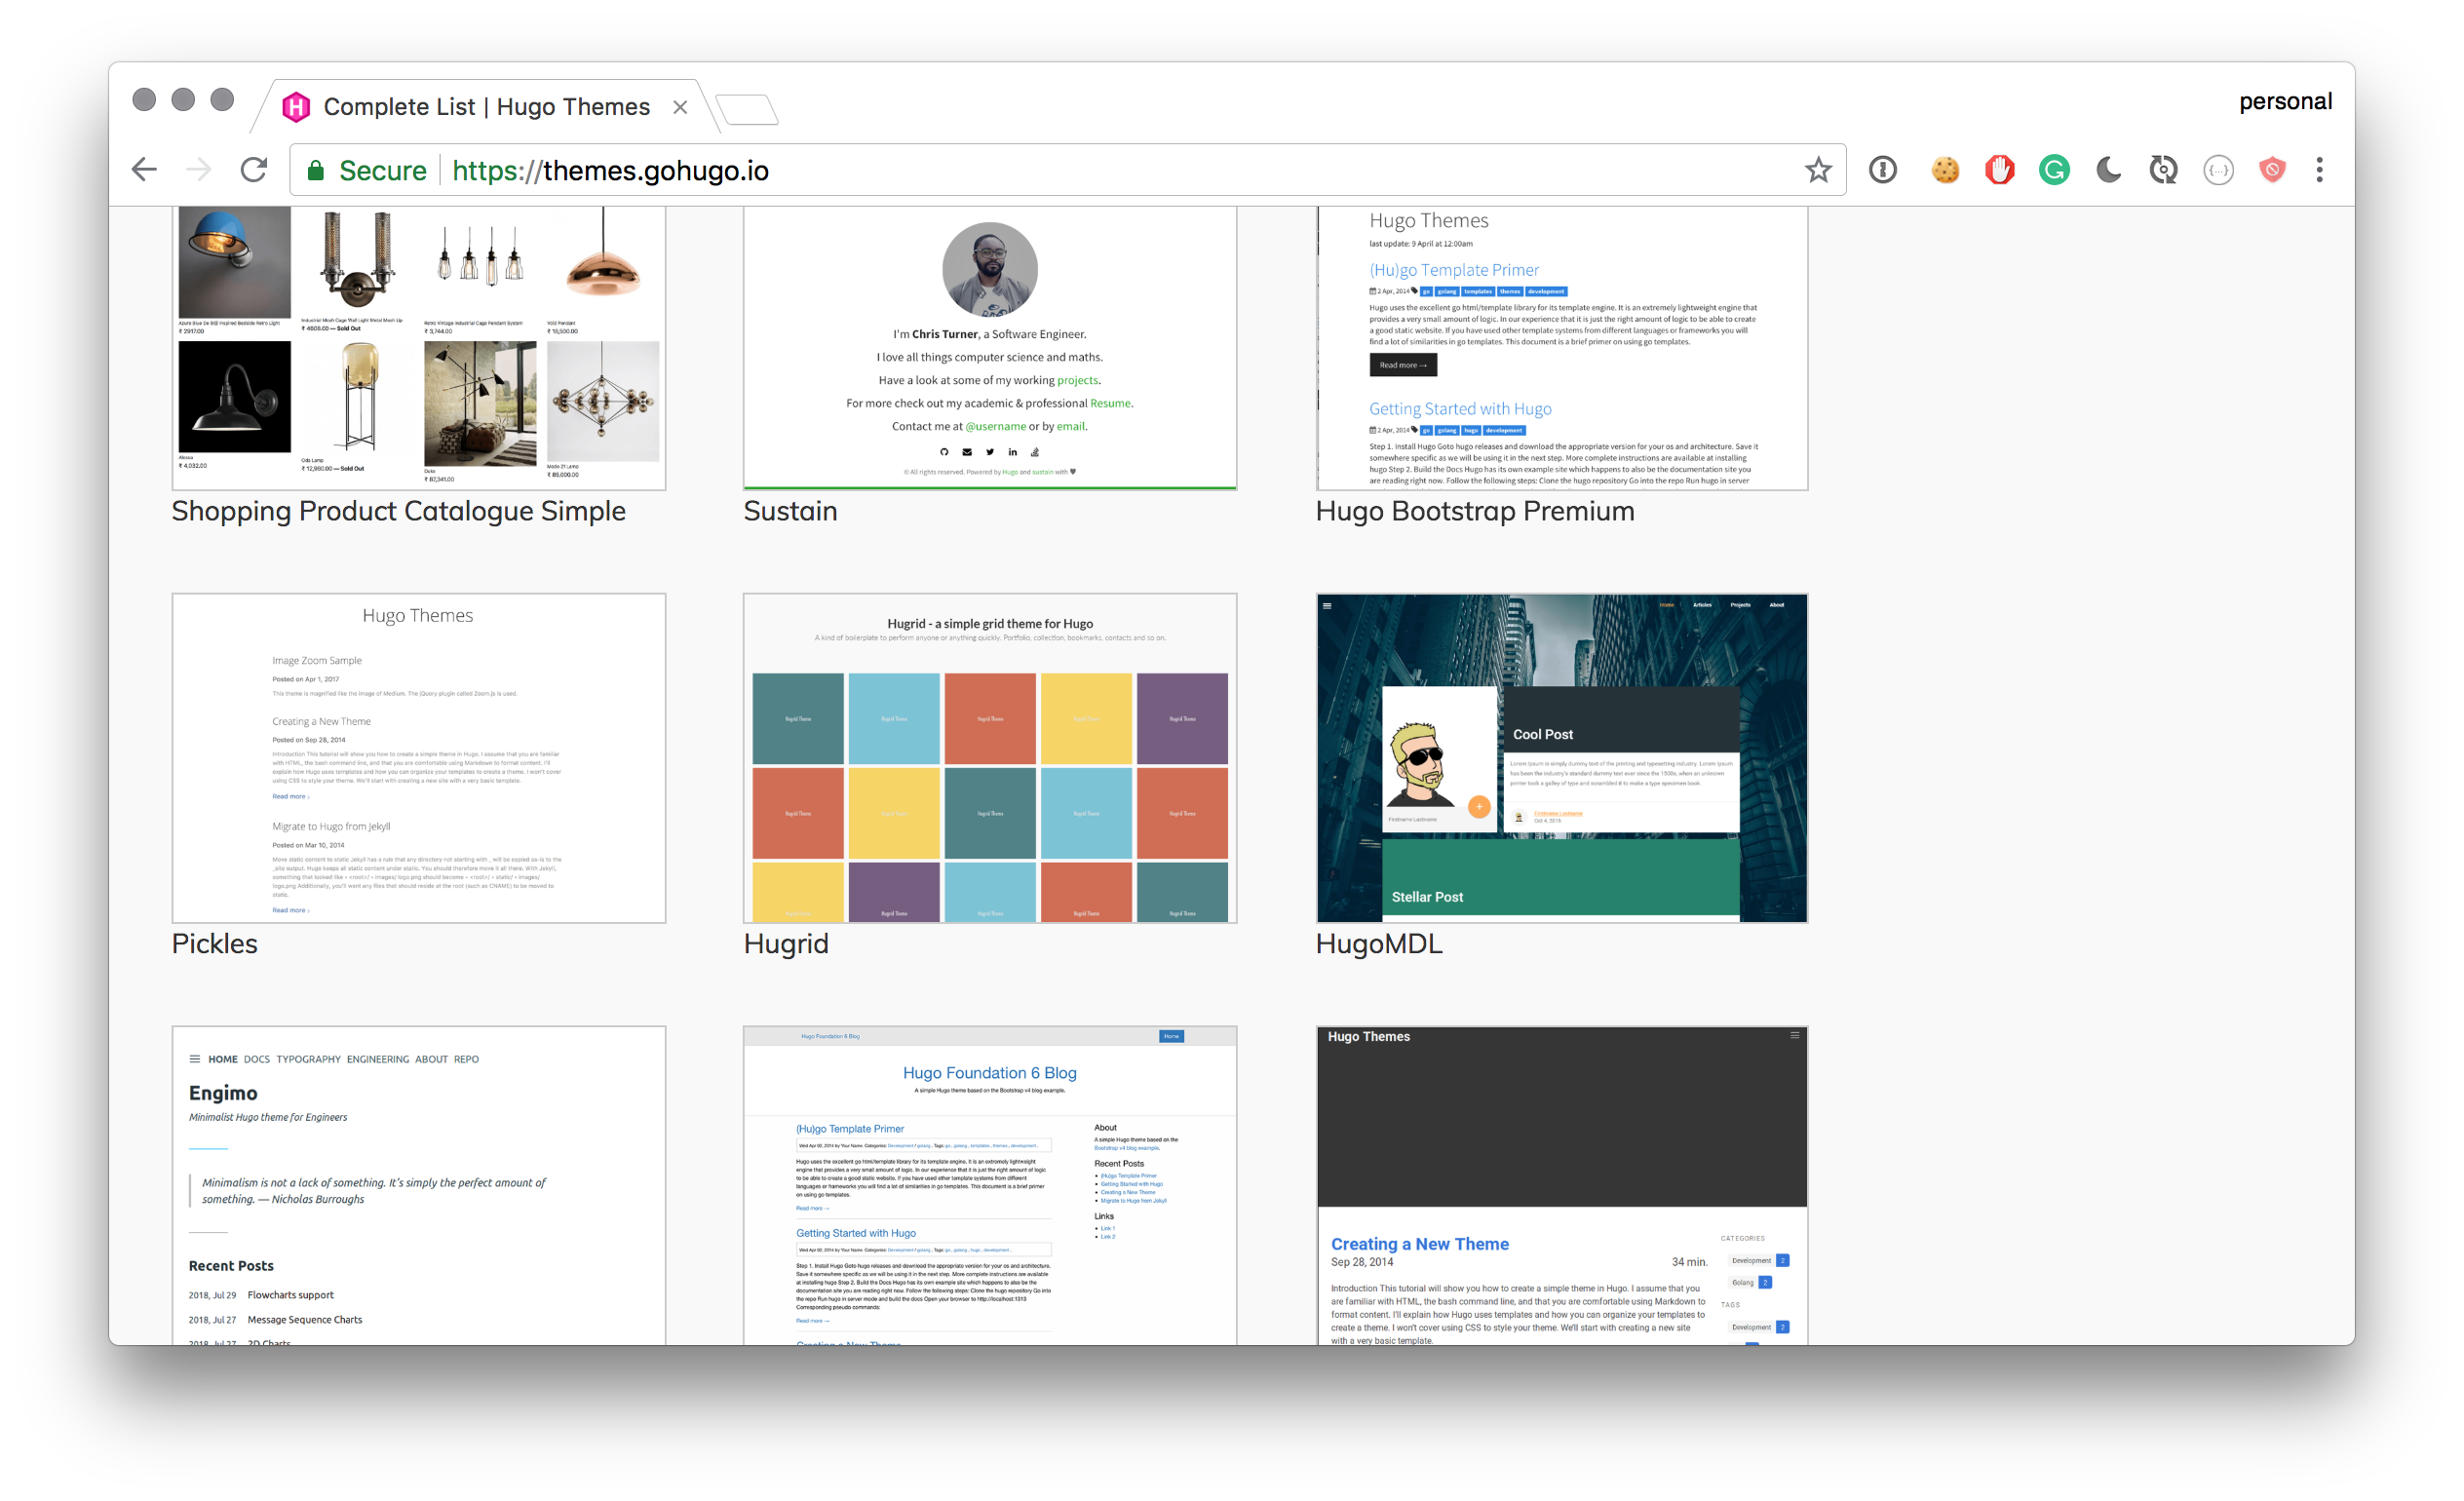
Installing my theme
Hugo has a bunch of different themes maintained by the community, after only 15 minutes of trying different demos I settled on one called Pickles, which is a rather minimalistic theme.
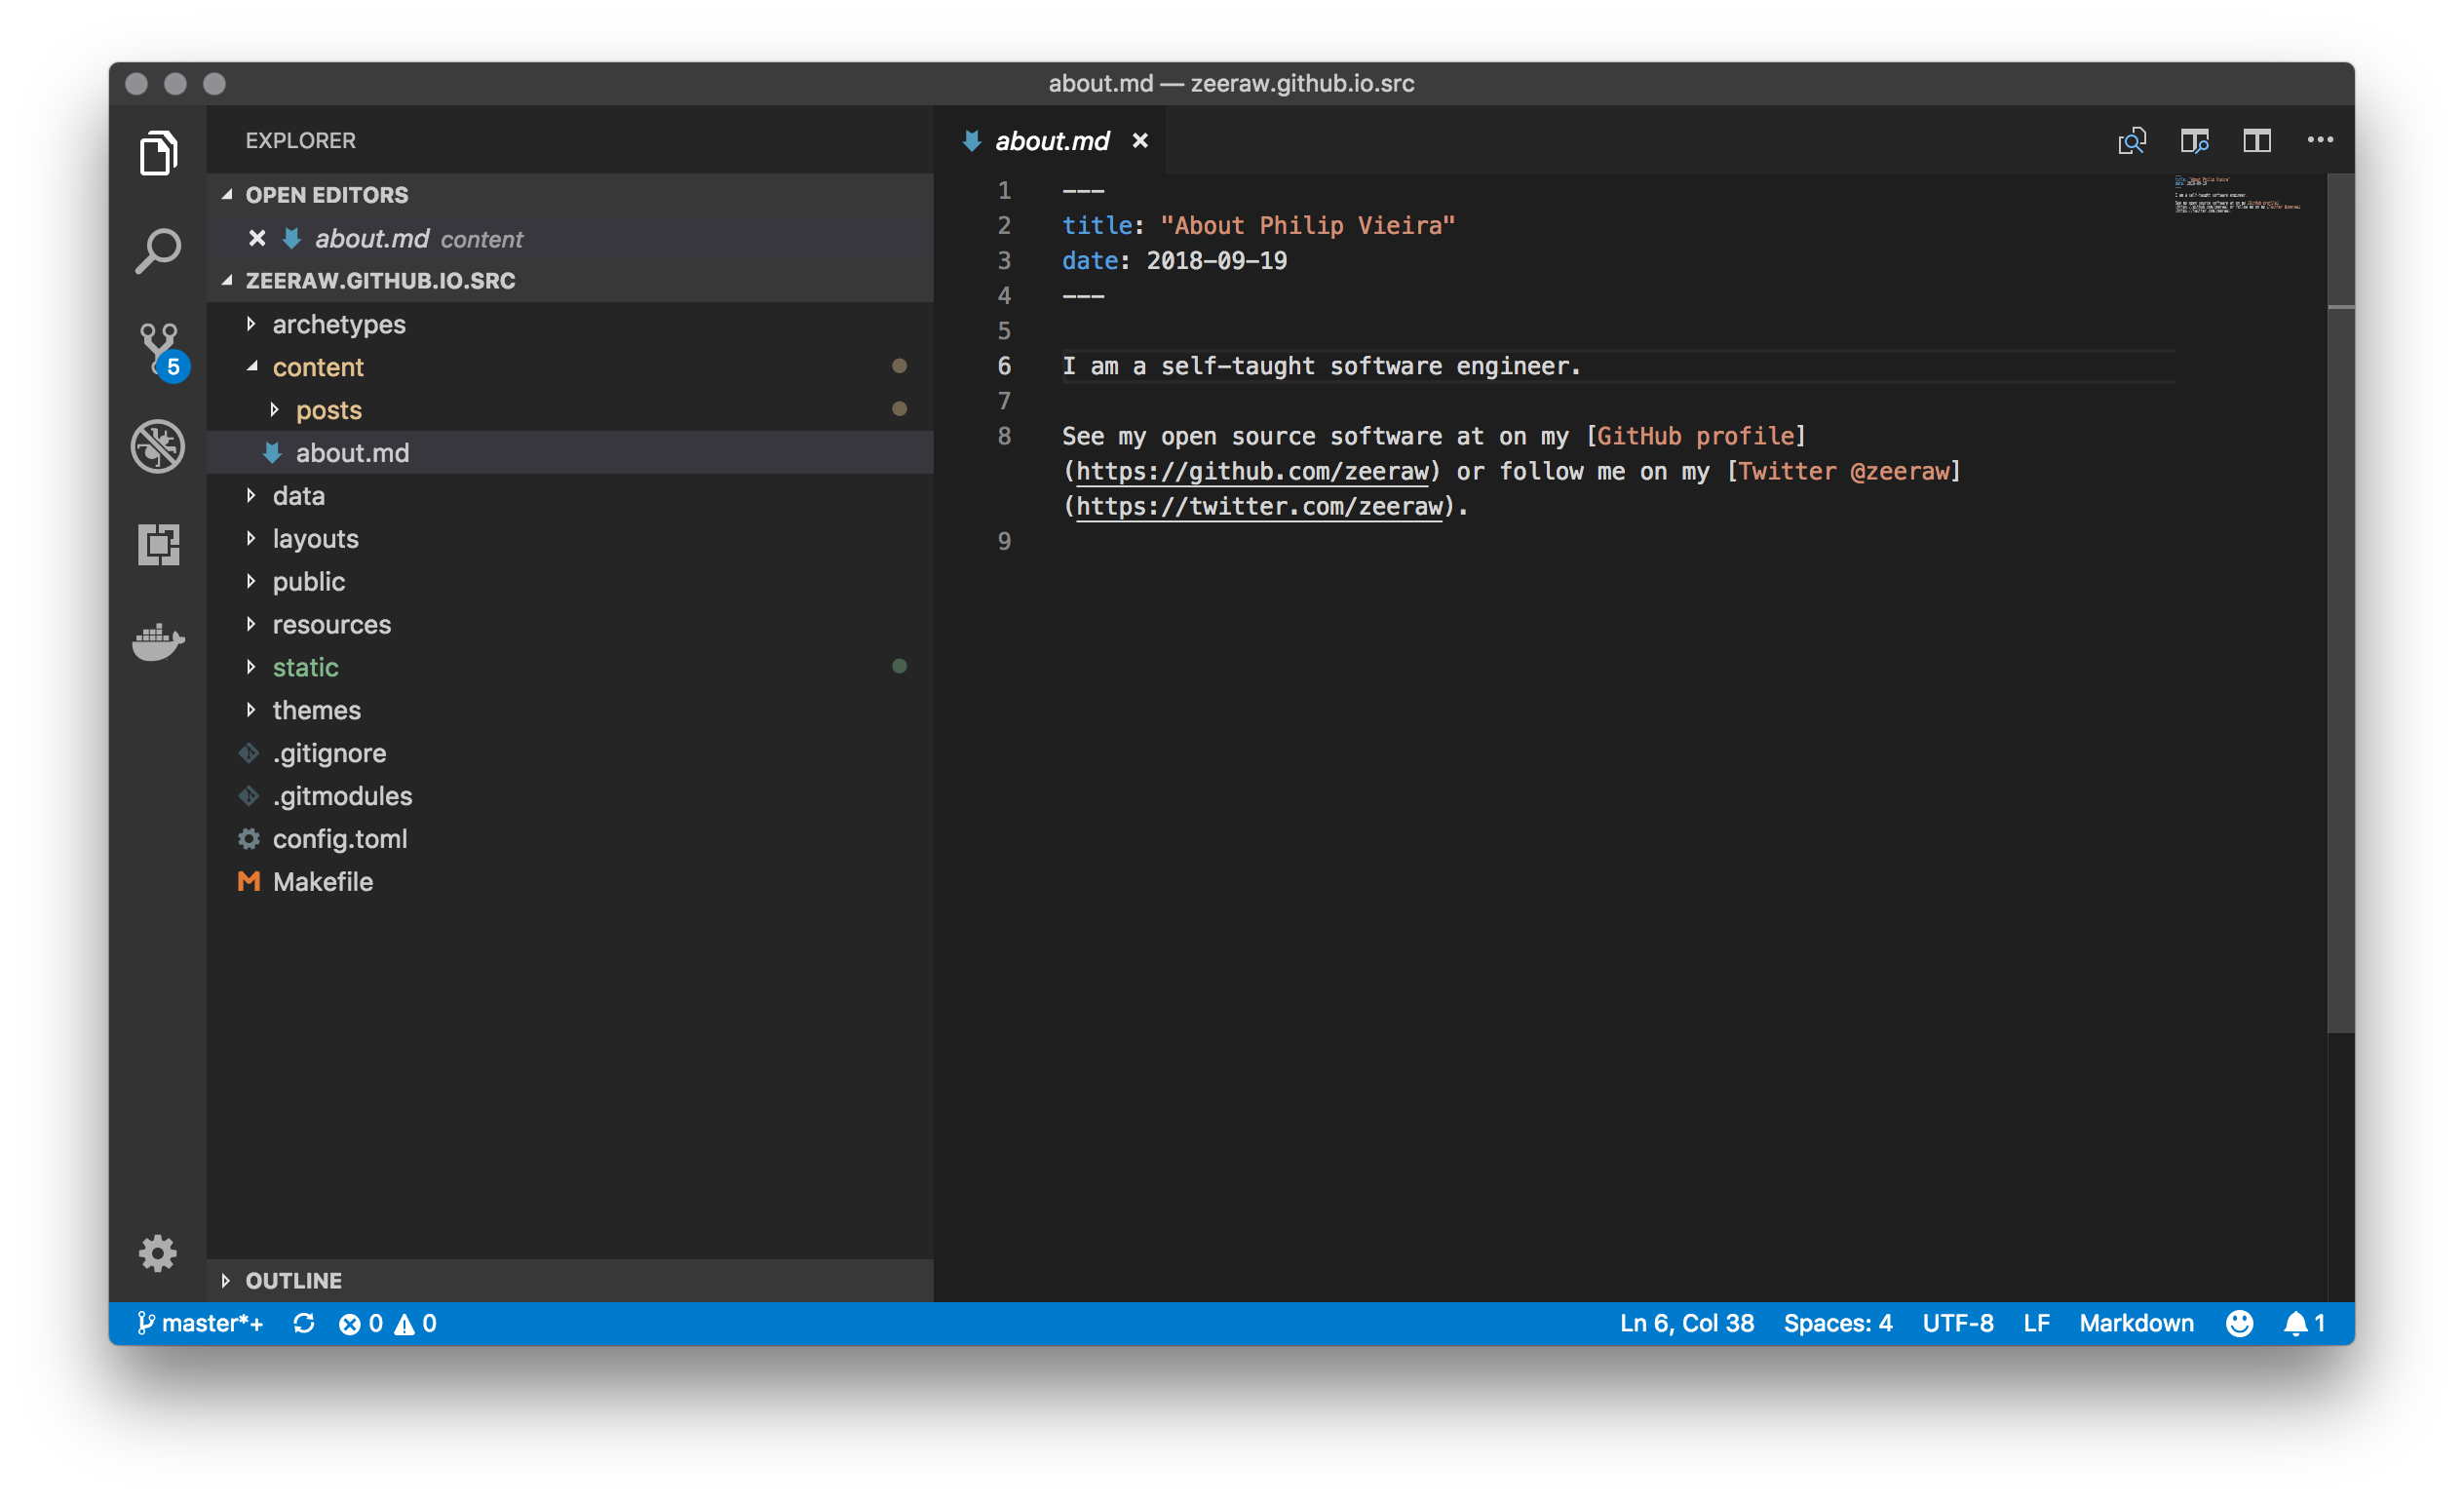
Creating a workflow
I wanted my workflow to be simple and I’m pretty happy with what I’ve got at the point of writing this. I only have to create markdown files under the content directory to make pages. If I want to make a blog post, I’ll just create a markdown file under content/posts and it will show up in the feed on the front page.
To deal with the tasks of running the development environment and publishing the website I’ve created a Makefile at the root of my source directory.
SHELL=/bin/bash
TIMESTAMP=$(date +%s)

DOMAIN_NAME="vall.in"
THEME="pickles"

GIT_PUBLIC="git@github.com:zeeraw/zeeraw.github.io.git"

OUTPUT_DIR="./public"

init:
	git submodule add -b master -f --name public $(GIT_PUBLIC) $(OUTPUT_DIR)

develop:
	hugo server -t $(THEME) -D --bind=0.0.0.0

build:
	hugo -t $(THEME)

publish:
	@echo -e "\033[0;32mDeploying updates to GitHub...\033[0m"
	@hugo -t $(THEME)

	@echo $(DOMAIN_NAME) > $(OUTPUT_DIR)/CNAME

	@cd $(OUTPUT_DIR);\
		git add -A
	@cd $(OUTPUT_DIR);\
		git commit -m "Publishing site `date`"
	@cd $(OUTPUT_DIR);\
		git push -f origin master
To get started, we add our static repository as a git submodule inside our source repository so that we can deploy the site from there.
$ make init
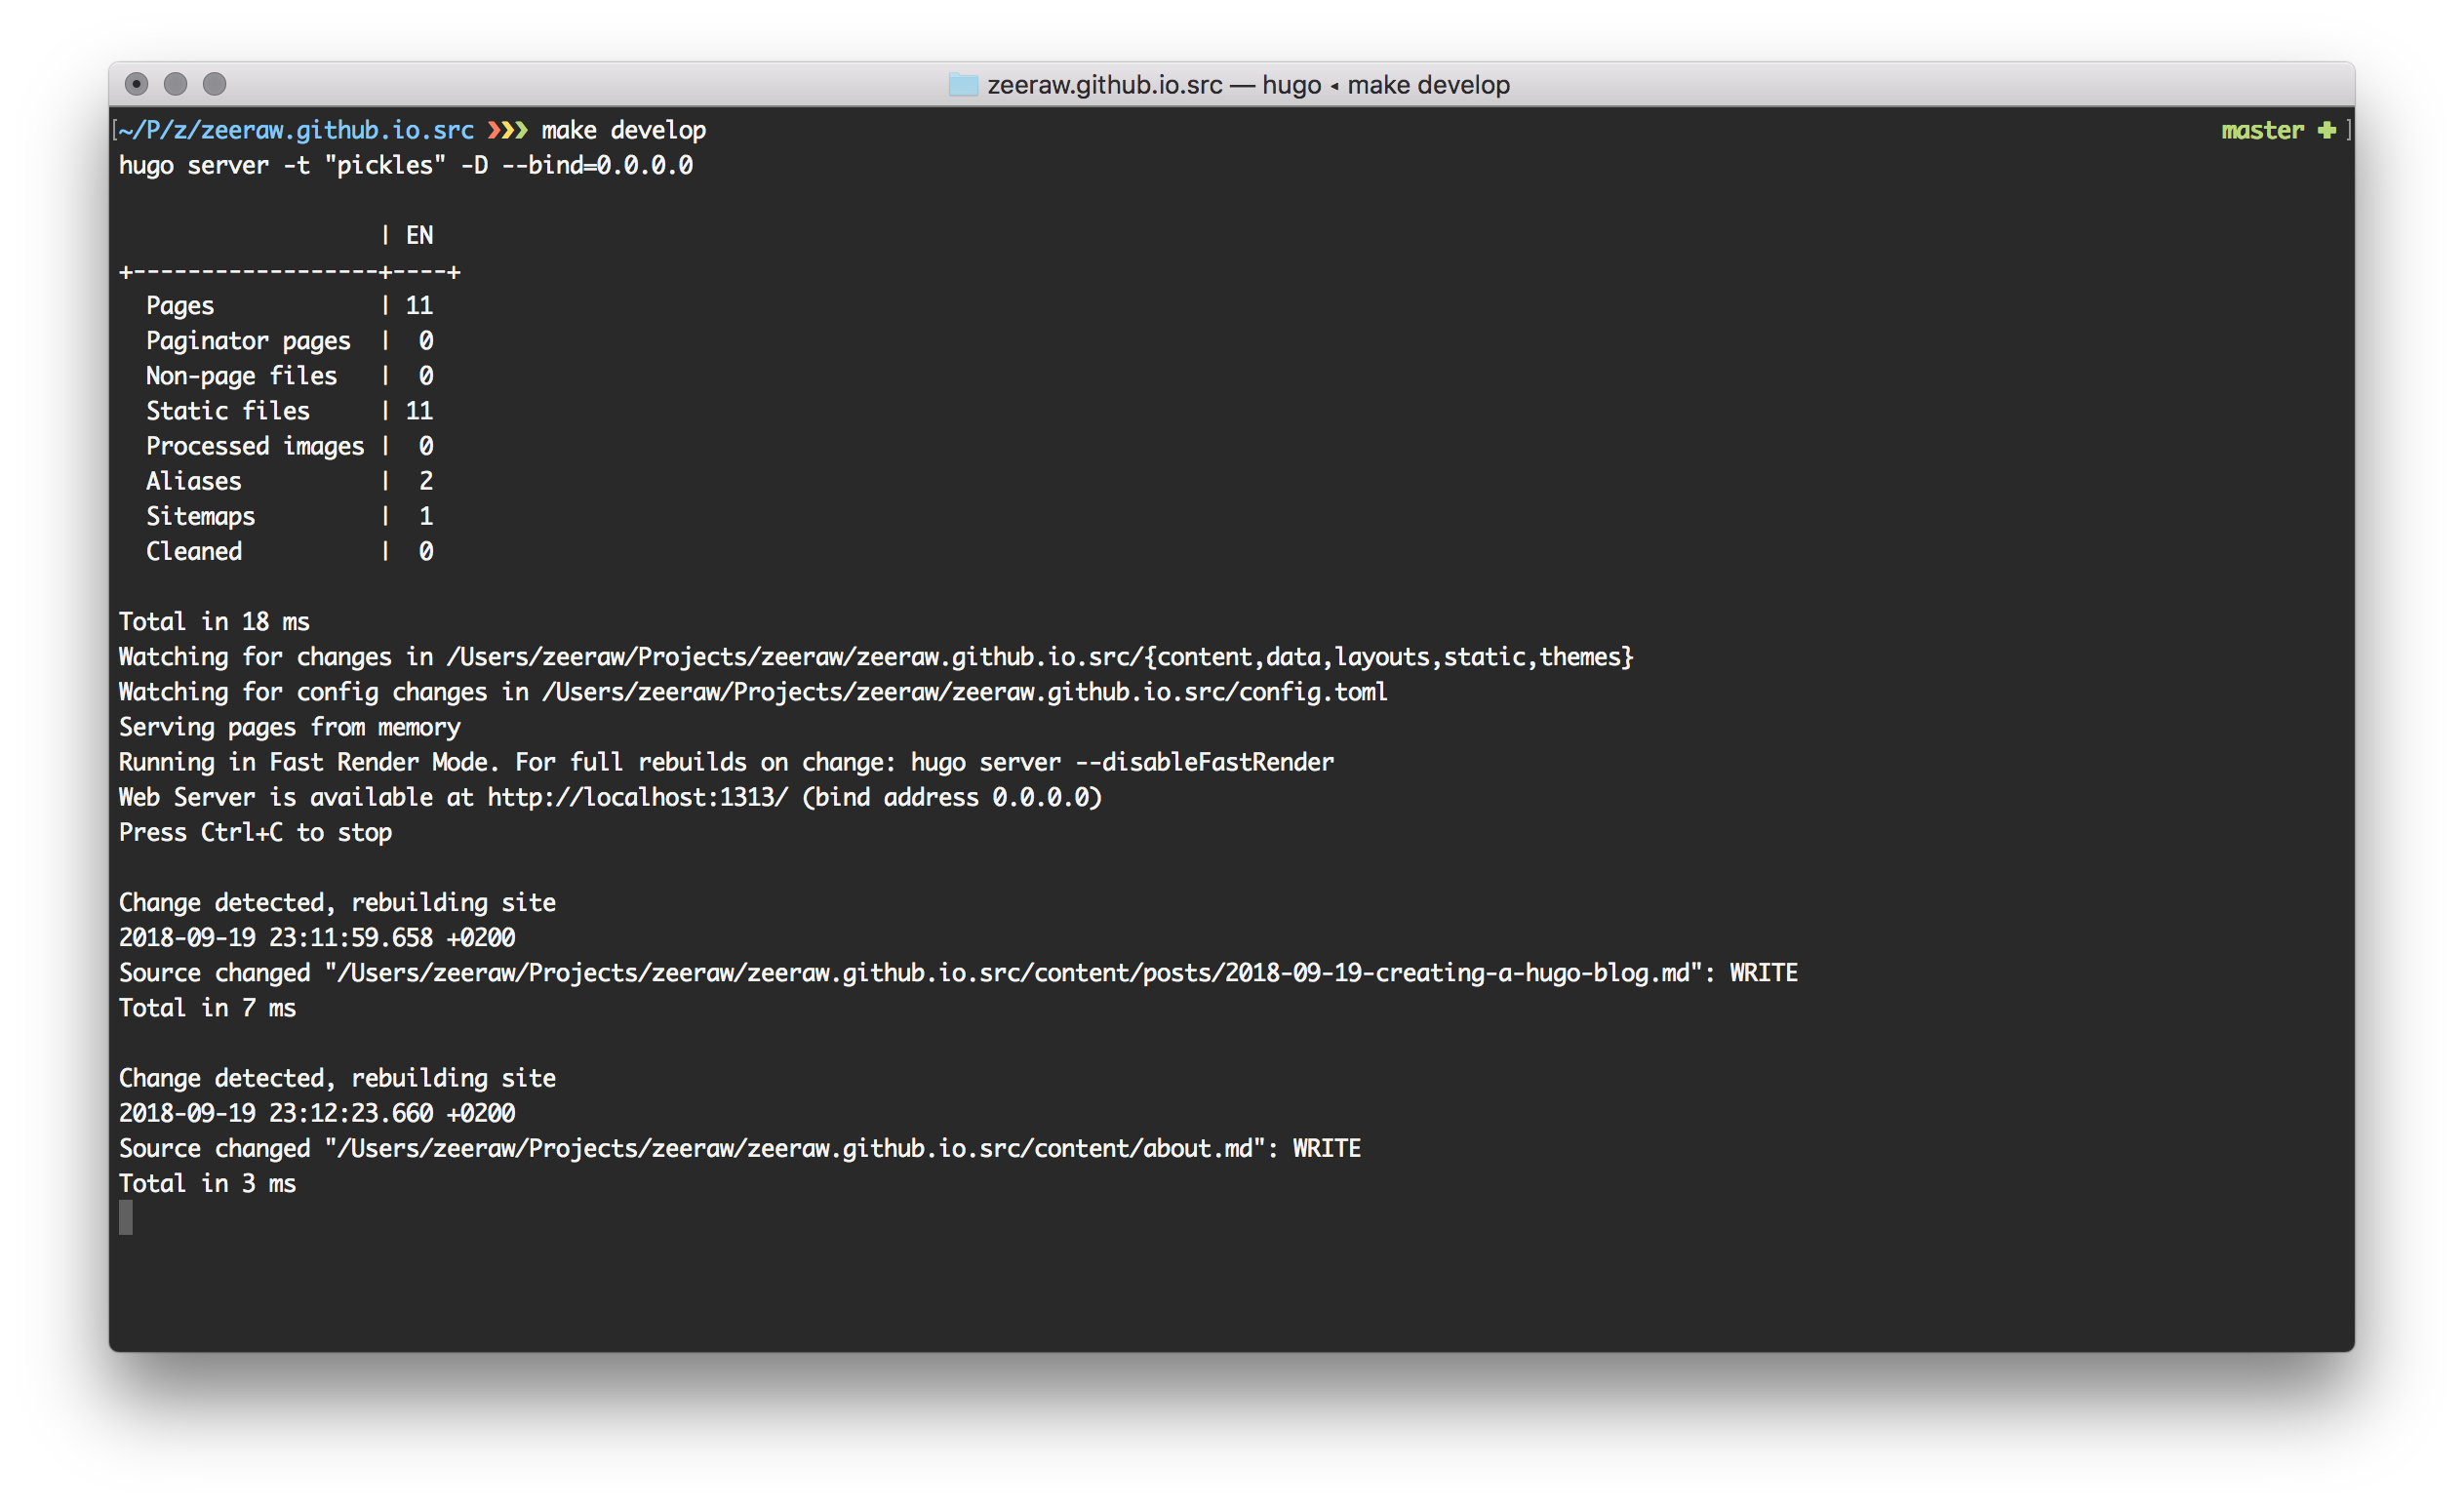
I start up the development server by just running the develop command and the site become available to visit on localhost:1313. One big benefit of editing the site with Hugo is that whenever I change something in the code, the site will automatically update in the browser without me having to do anything, allowing me to edit the pages and just have my browser beside it and watch it update in realtime.
$ make develop
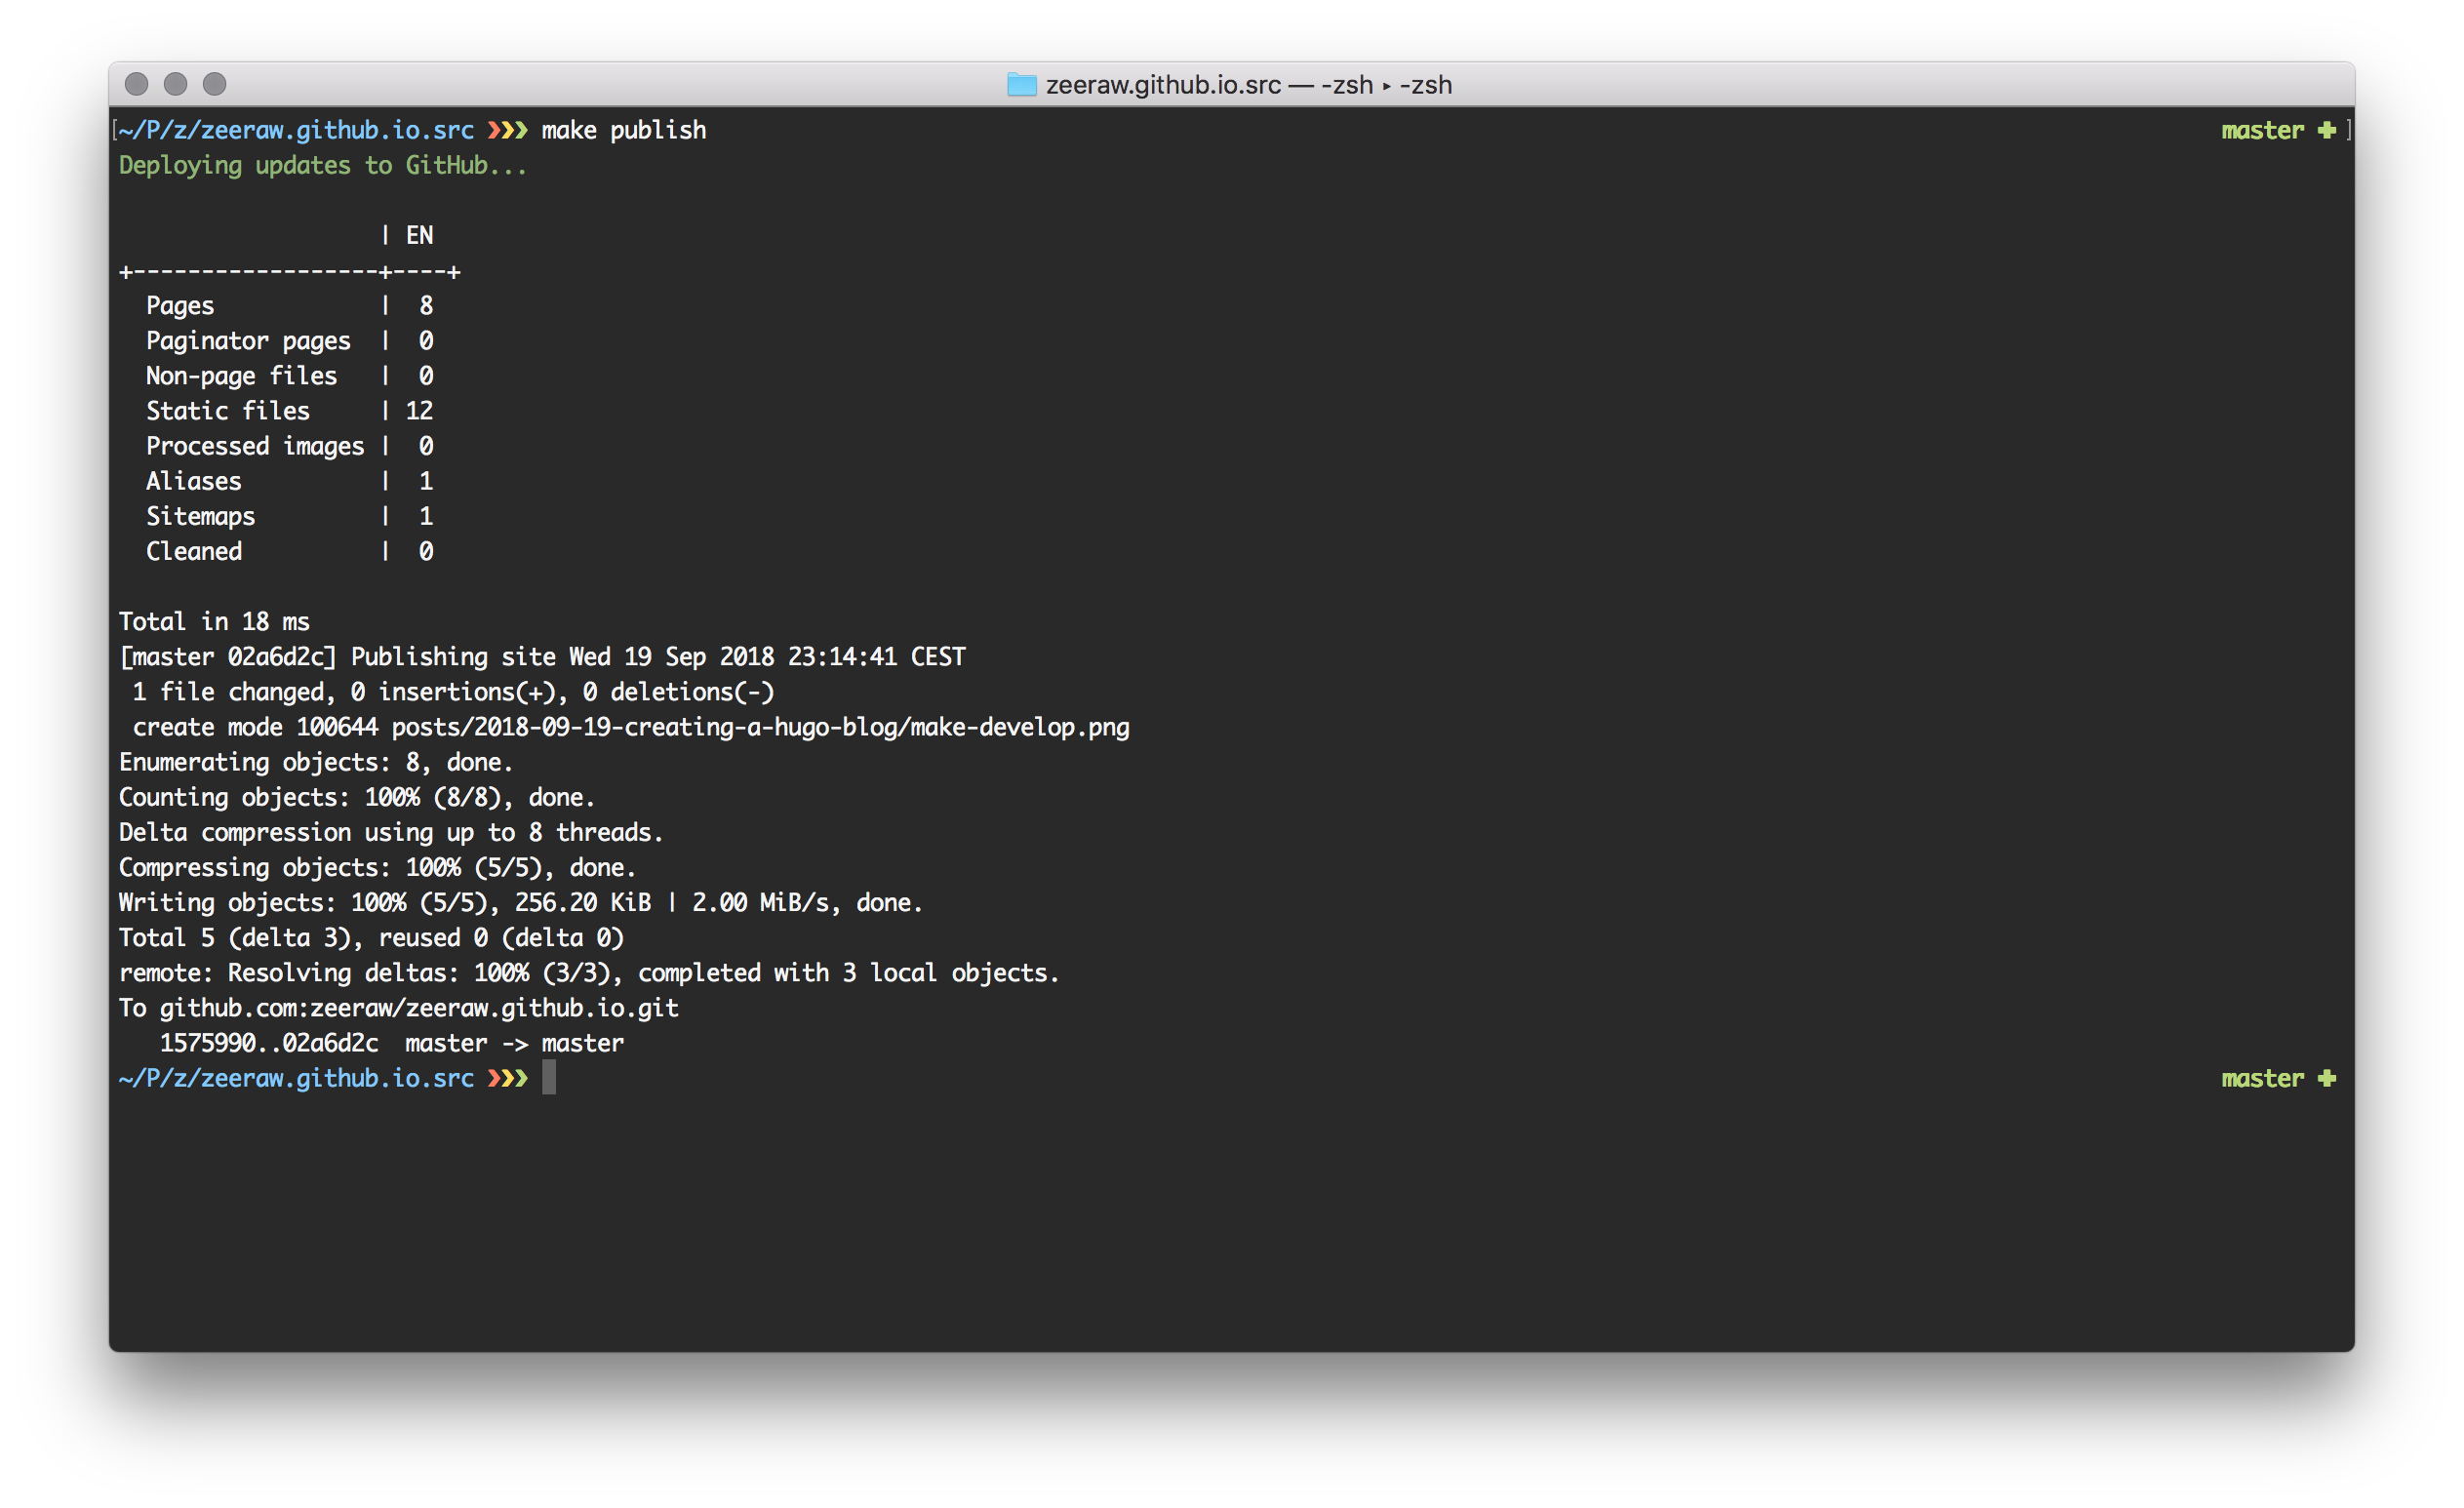
Lastly, whenever I’m done with the changes and I’ve commited them to the master branch in the source repository, I’ll just run the publish command to put all changes to the static site in the public. It generates a commit with the changes inside the submodules and pushes them to its master branch on GitHub.
$ make publish
Conclusion
I’m very happy with how easy it is for me now to start blogging. I just have to create a markdown file, take some screenshots, write some words and run two make commands in my terminal to publish something.
I look forward to posting more on this website now when the initial hurdle has been overcome.